
Salesforce
Access your private offers, contracts, buyers, and listings data directly in your SFDC for AWS, Azure, and GCP Marketplaces. Complete details of AWS and Azure co-sell opportunities are now available in your Salesforce as well. You can now also accept, create, or update AWS co-sell opportunity using Salesforce Flows.
Prerequisites
Before integrating Salesforce with Clazar, ensure you have the following:
- Clazar Account: An active Clazar account with Super Admin or Admin user privileges is required to access the Integration Screen and configure the integration.
- Salesforce Account: You need a valid Salesforce account with administrative access to authorize Clazar for integration.
- Clazar User in Salesforce (Recommended): Create a dedicated Clazar user account within your Salesforce instance, specifically for integration purposes. Refer to Step 2 for more details.
- Salesforce User License: The Salesforce user intended for integration must have the Salesforce license or another license allowing control over Salesforce Standard Object permissions.
- **Salesforce Object and Field Knowledge: ** Familiarity with the Salesforce objects and fields you intend to integrate with Clazar is essential for proper mapping and configuration.
Salesforce Integration Steps
Navigate: Settings > Apps > Salesforce
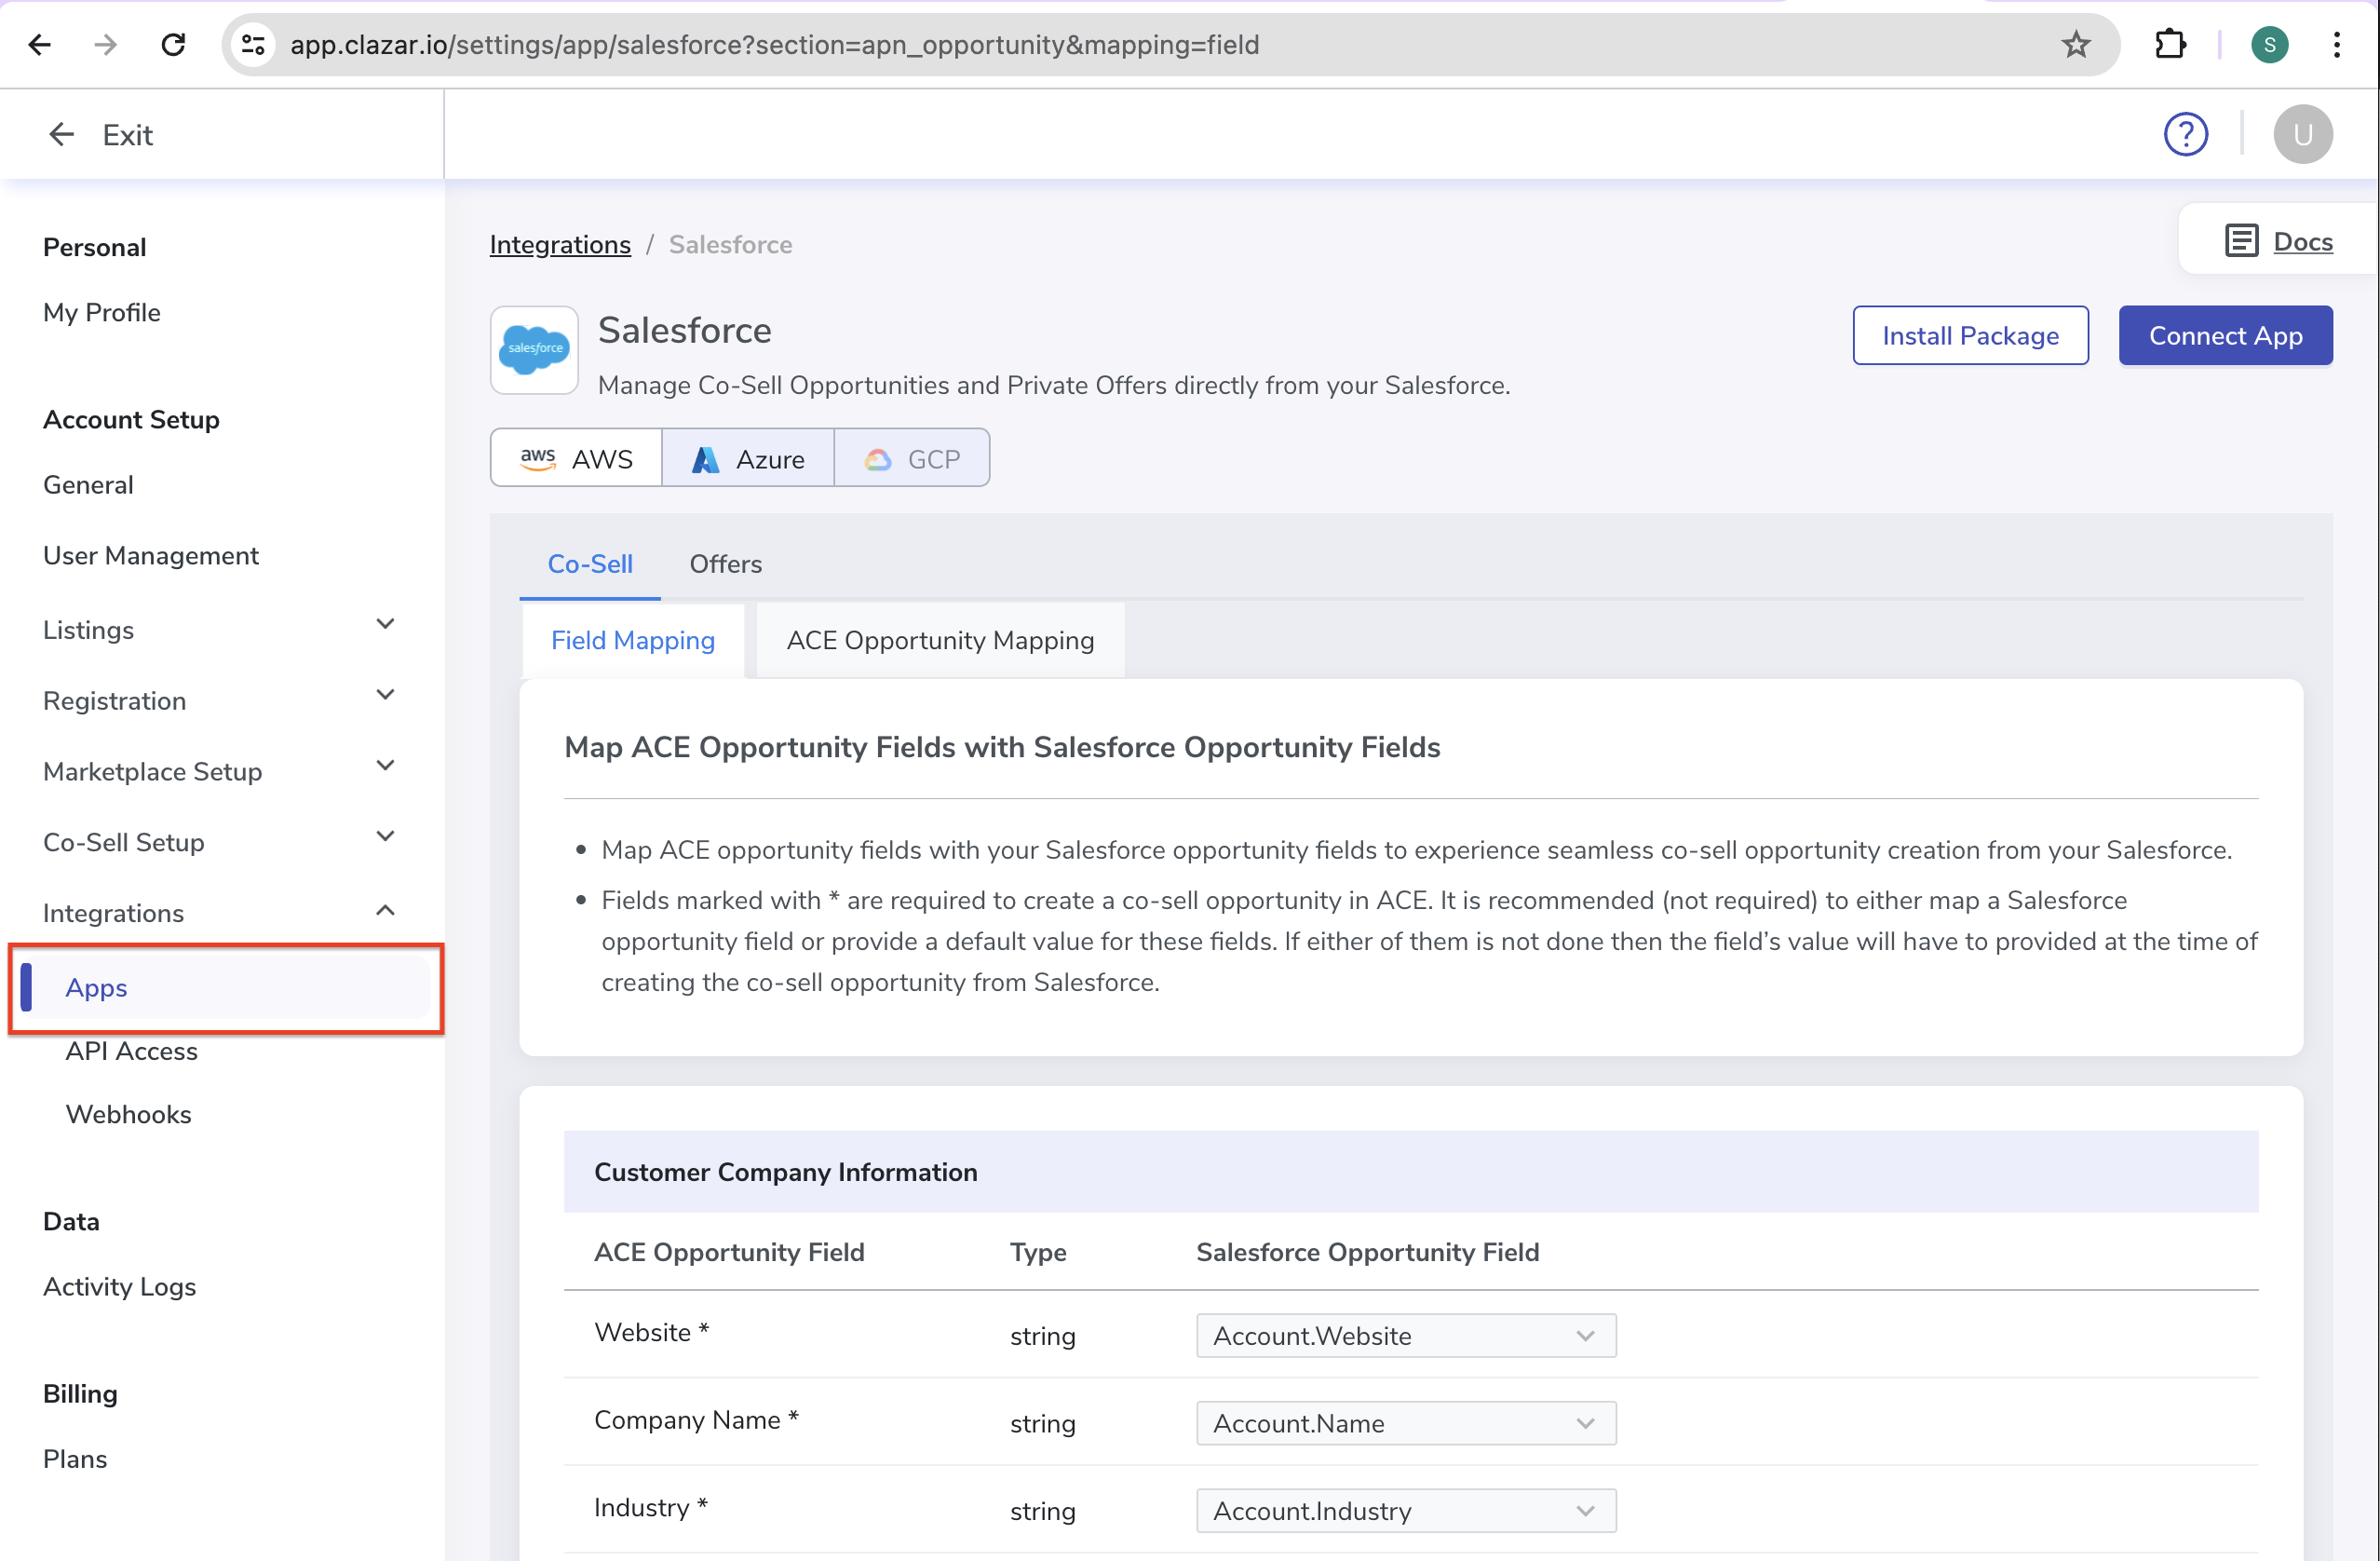
Step 1: Install Clazar Salesforce Managed Package

- To install the managed package, click on the Install Widget button.
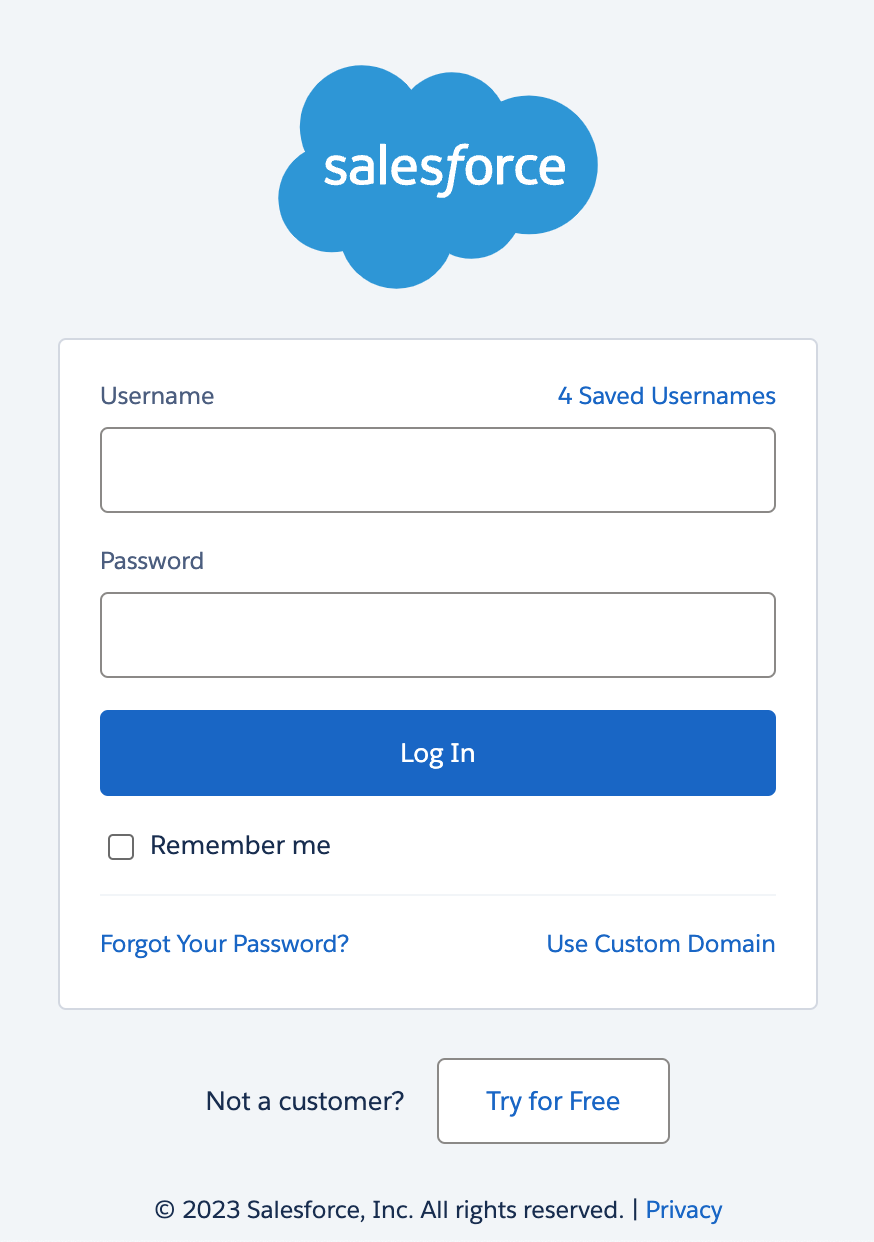
- Log in to your Salesforce instance where you want to install the Clazar Salesforce Managed Package.
- Please confirm the instance URL where you want to install the Clazar Salesforce managed package so that we can ensure it is installed on the correct instance.
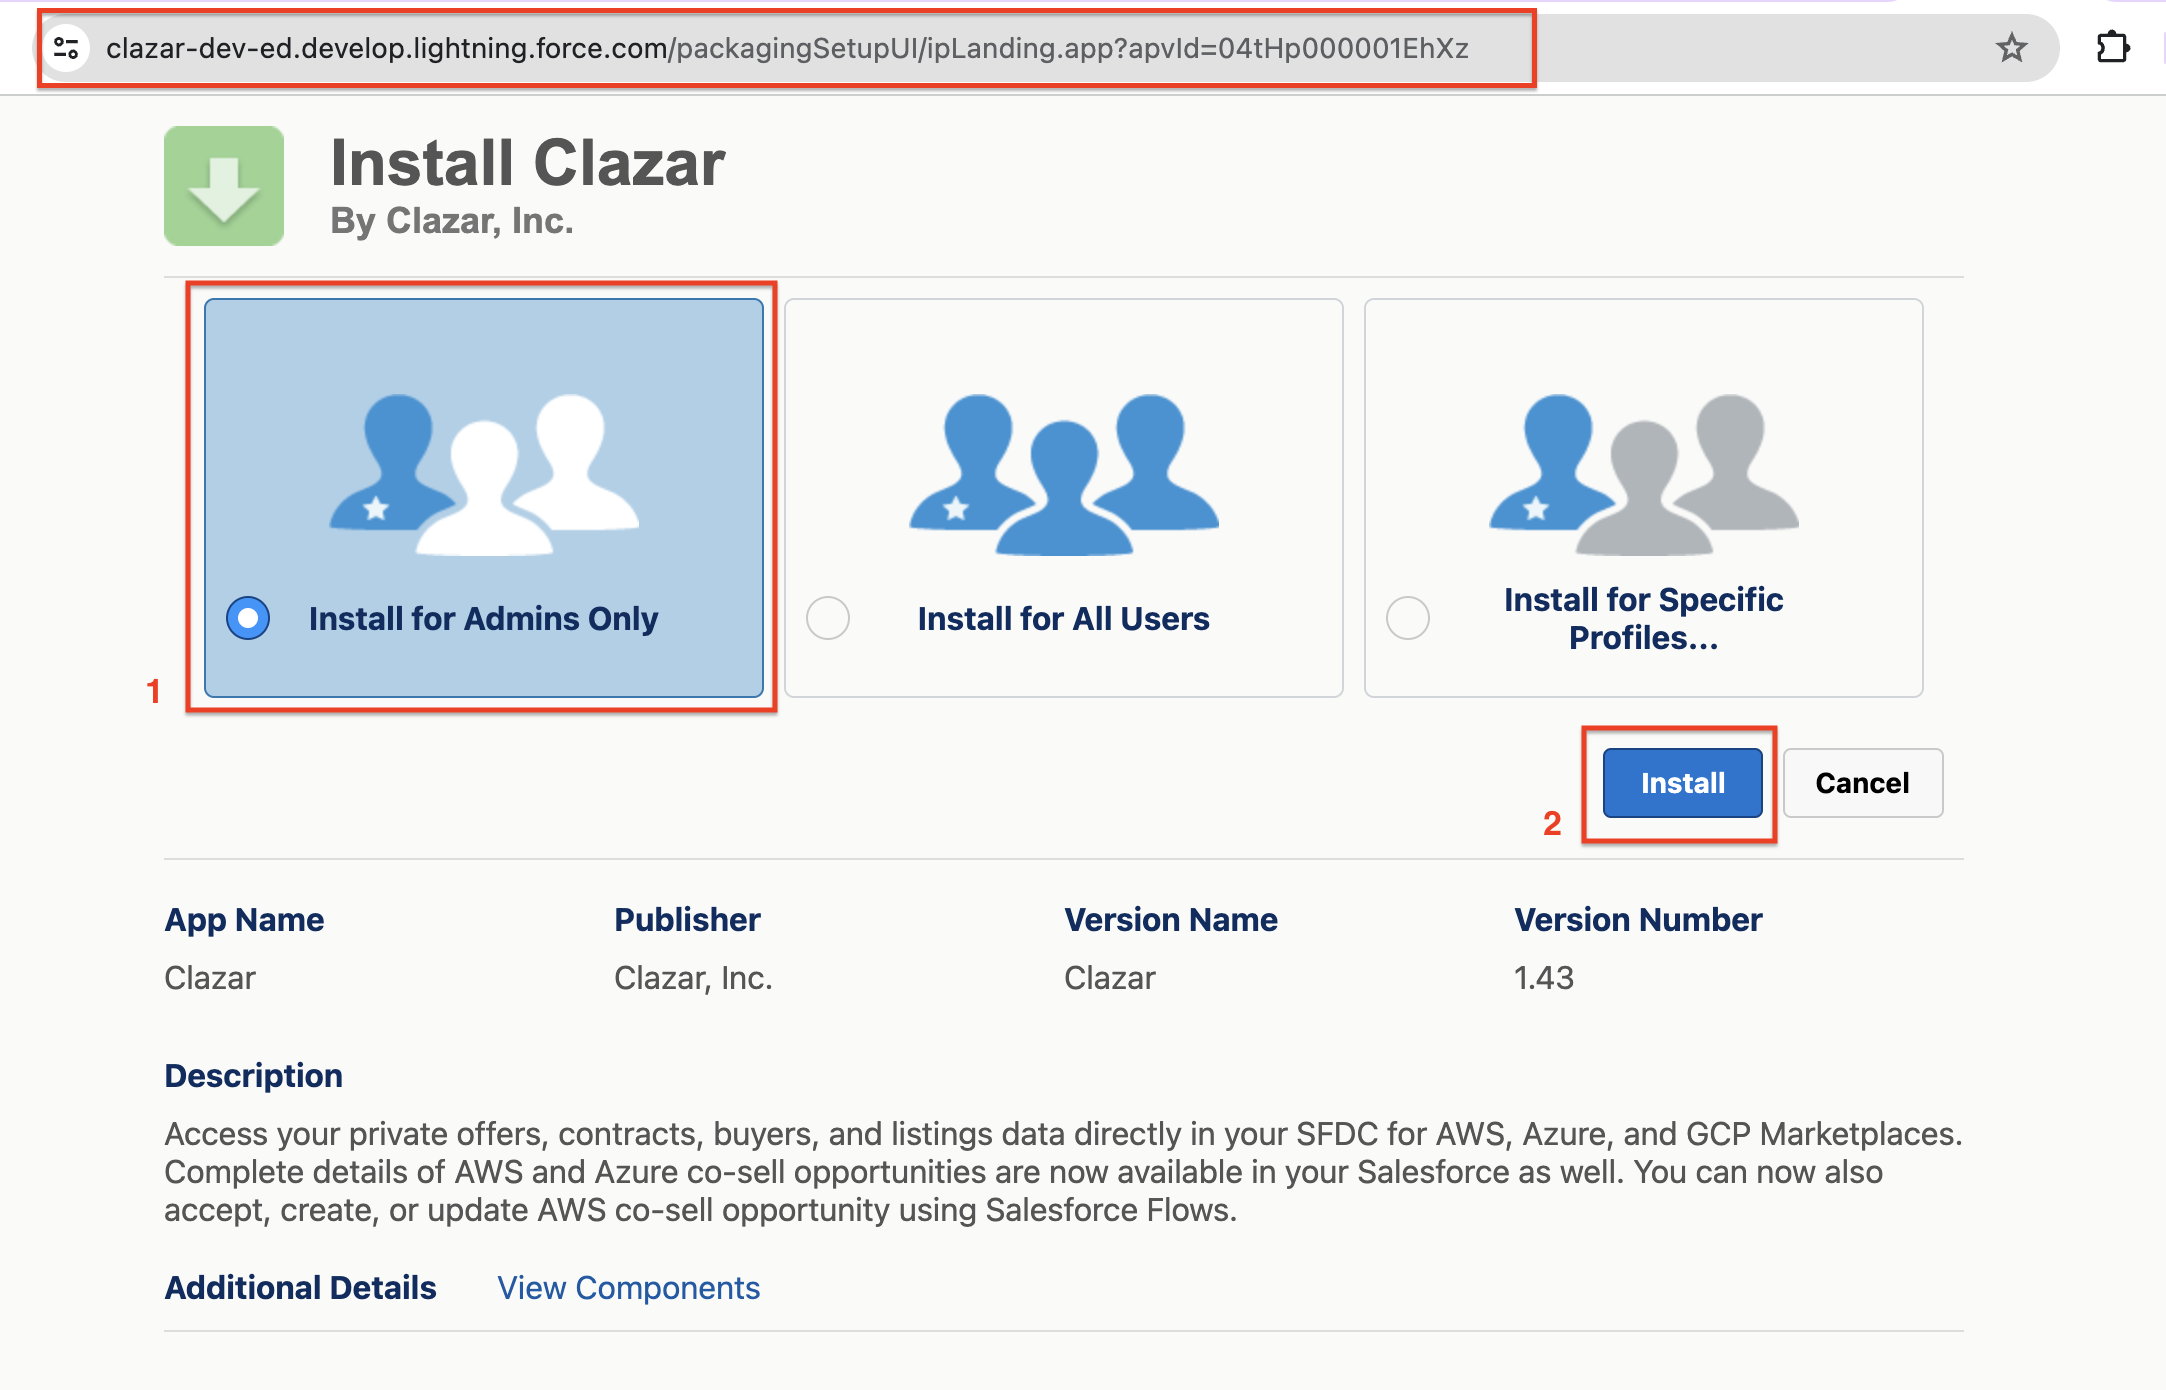
- Recommended: Select the Install for Admins Only option during the package installation to maintain better control over access and permissions.
- Click the Install button to complete the installation.
- Allow Third-Party Access for
api.clazar.io
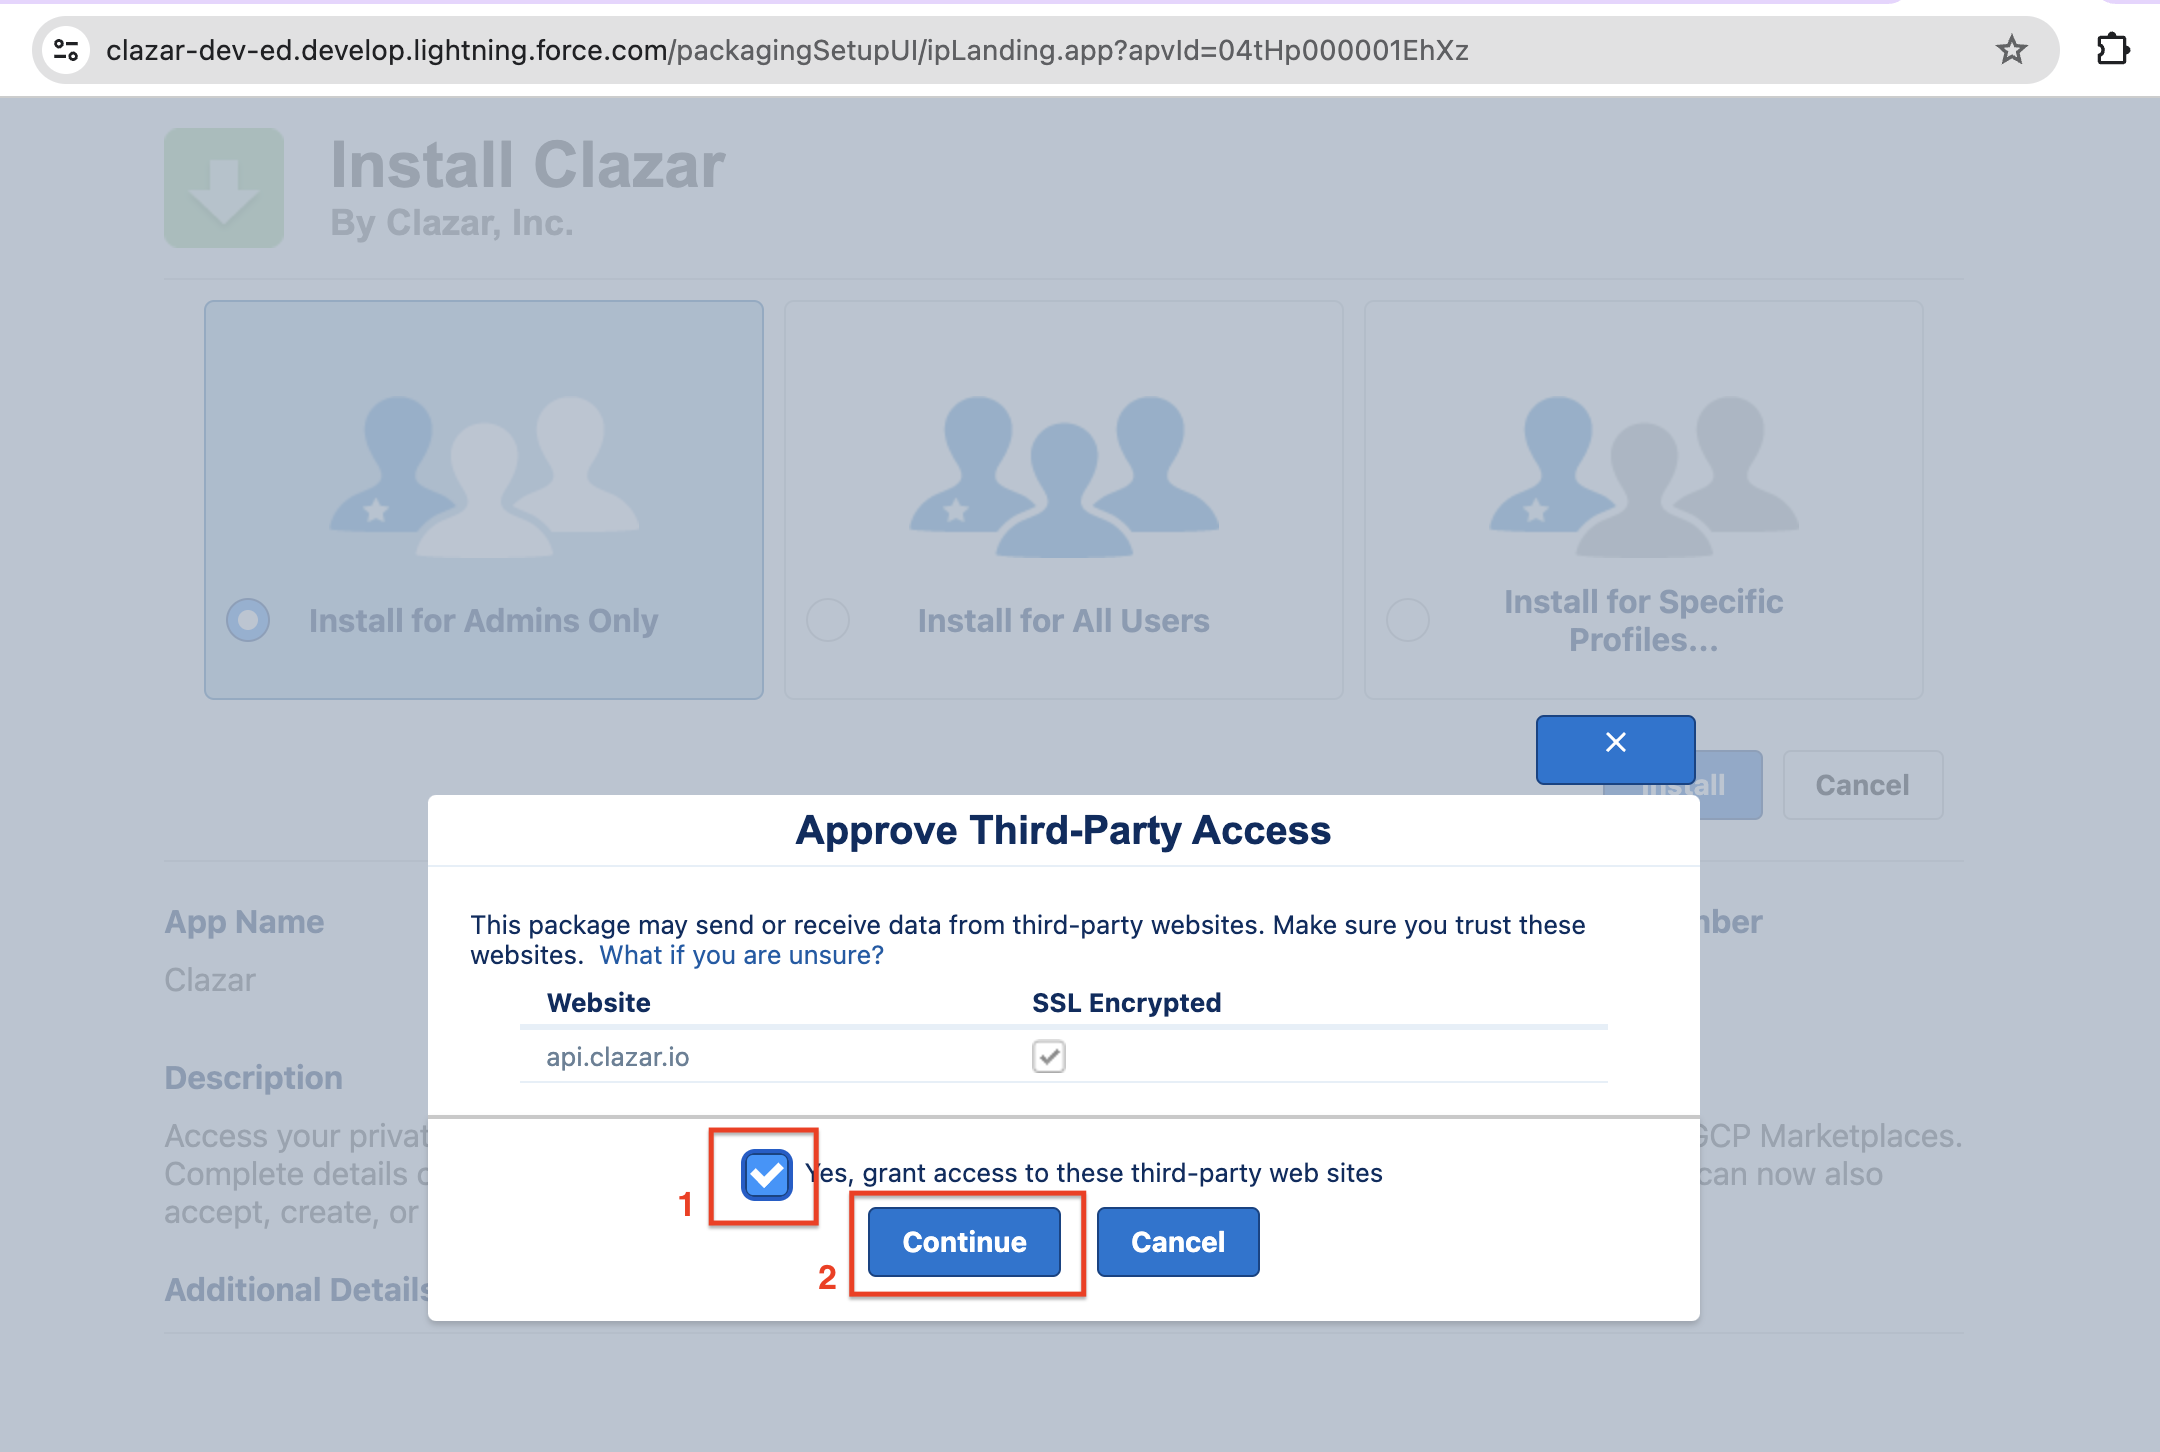
- Installation Complete!
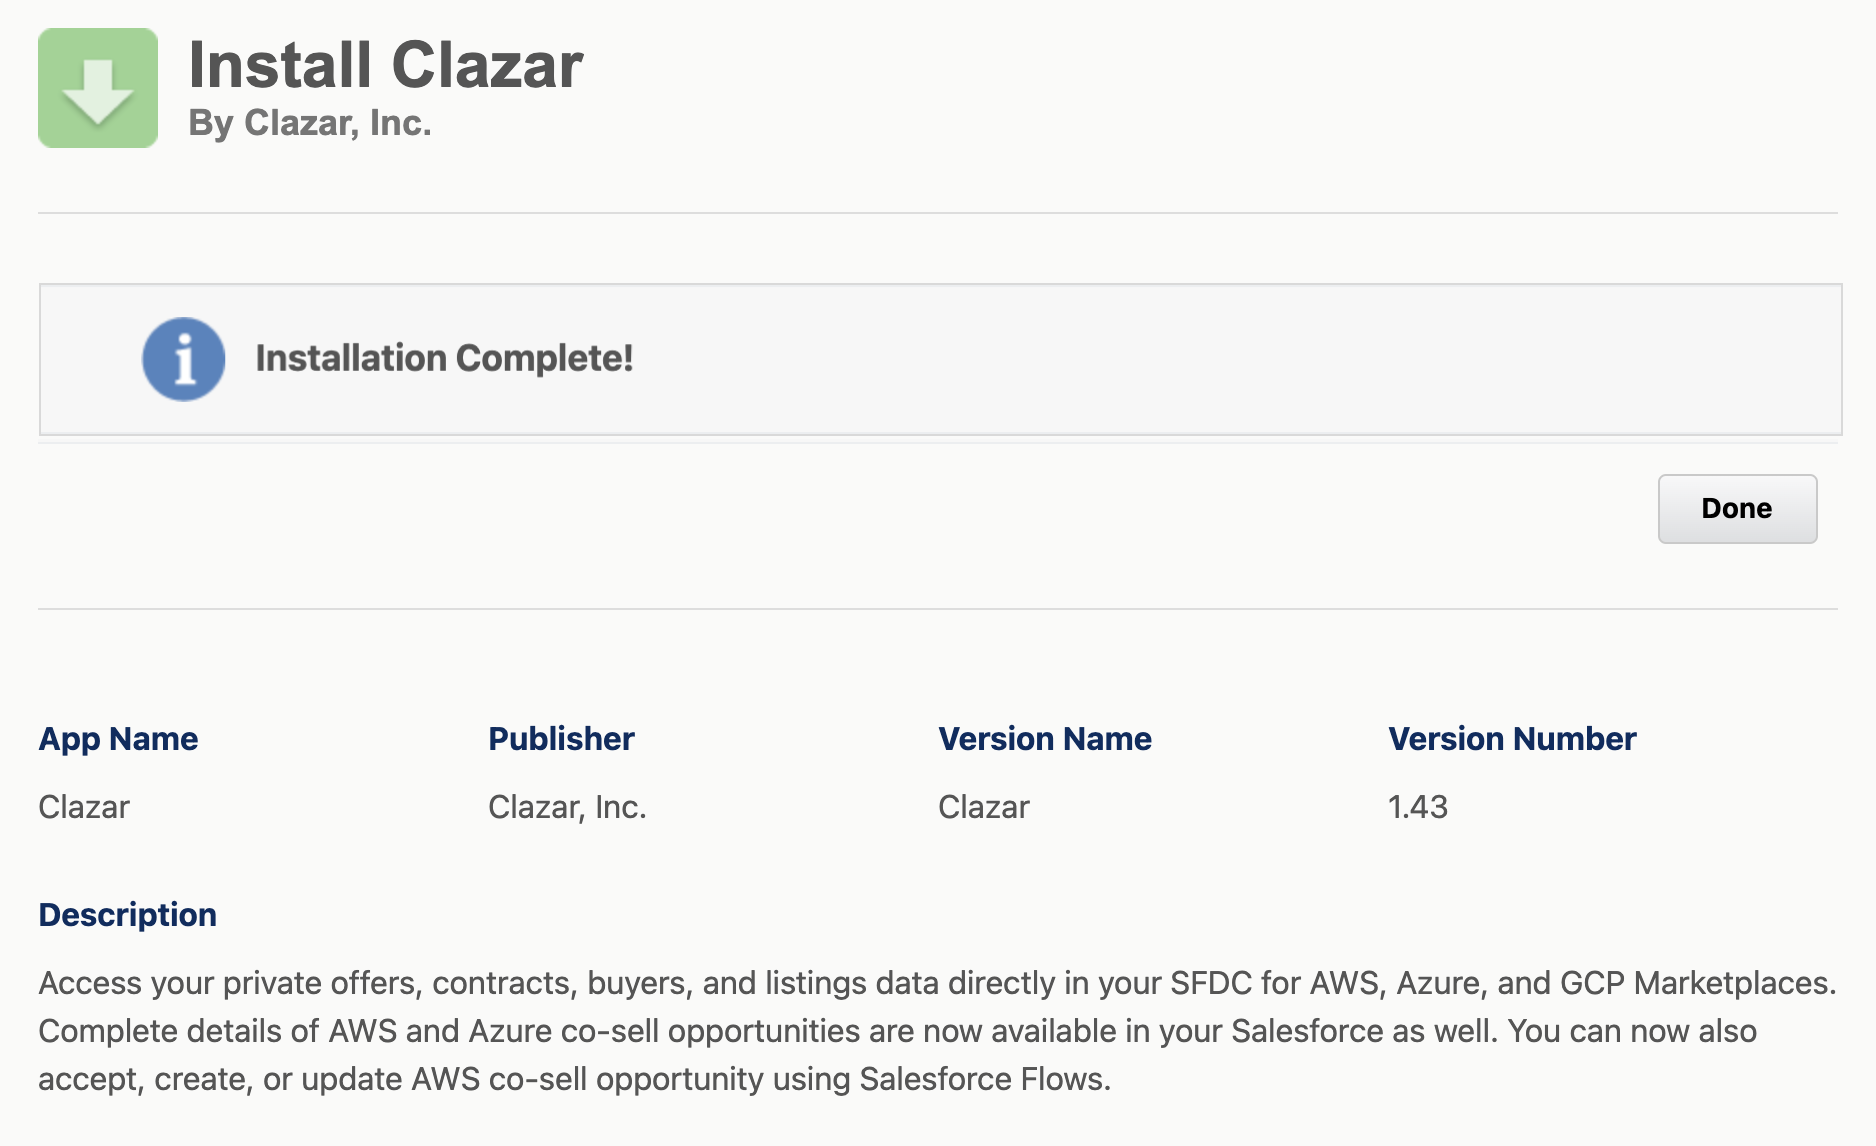
- After the package is fully installed, you will receive an email notification confirming the installation's completion.
Step 2: Create a Clazar User in Salesforce
To communicate with Salesforce, Clazar uses the OAuth 2.0 Web Server Flow.
- Ensure you have a Salesforce Account with API access.
RecommendedCreate a dedicated user for integration. Learn more at Create a secure Salesforce API user.
- The user must have the Salesforce license to access Salesforce Standard Object permissions.
- The Salesforce OAuth process requires a regular user who has access to the web UI to be used.
Note:An "API-only" user cannot be used for this purpose.
Ensure the user has at least the following access permissions for relevant objects:
| Object | Read | Read All | Create | Edit | Delete |
|---|---|---|---|---|---|
| Accounts | ✅ | ✅ | ✅ | ||
| Contacts | ✅ | ✅ | ✅ | ✅ | |
| Opportunities | ✅ | ✅ | ✅ | ✅ | |
| Lead | ✅ | ✅ | |||
| Quote | ✅ | ✅ | ✅ | ✅ |
Step 3: Grant Clazar Salesforce Permission Set
Grant the required permissions to the Integration User by assigning the Clazar Salesforce Permission Set.
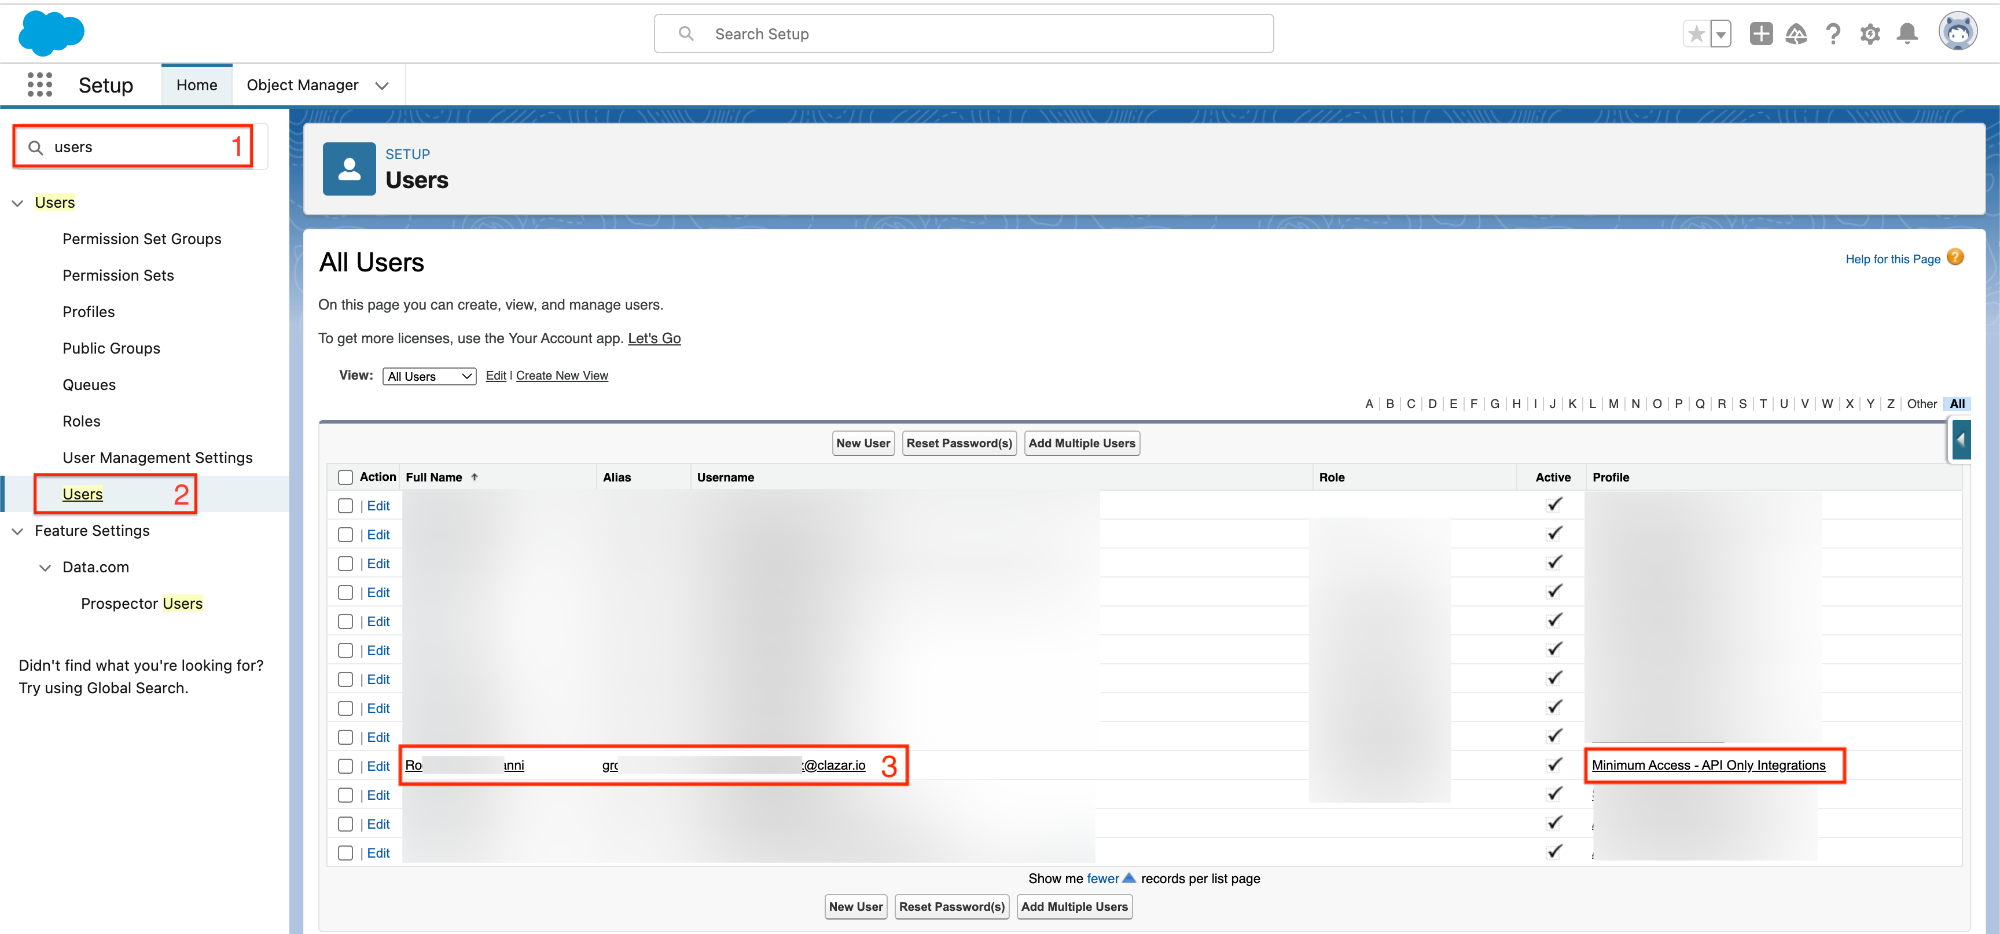
- Search Users on Quick Search
- Click on the user's name.
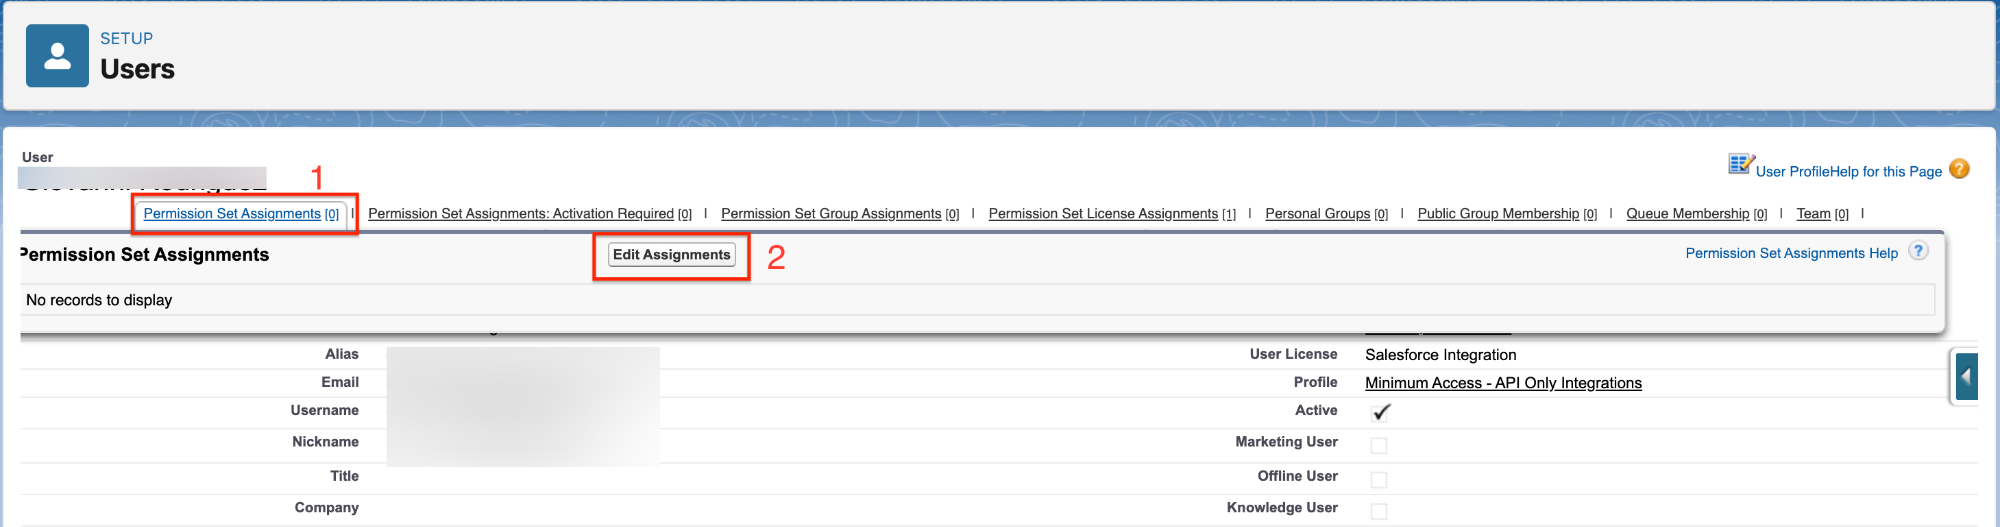
- Click on Permission Set Assignment
- Click on Edit Assignment
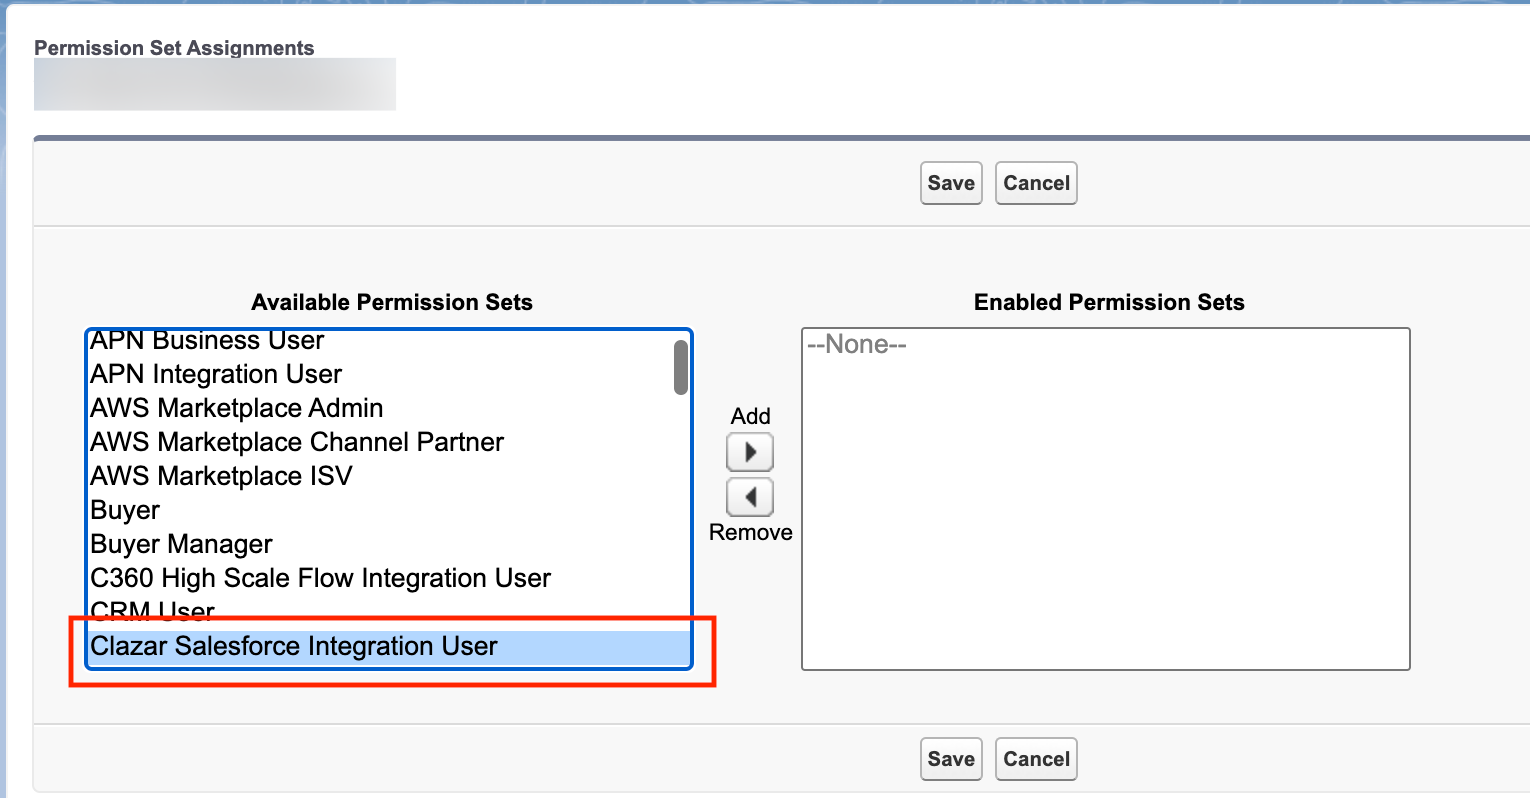
- Select Clazar Salesforce Integration User
- Click on ▶️ Add to add the Permission Set
- Click Save
Step 4: Assign Salesforce Integration User License (Only for Integration User)
- Search Users on Quick Search
- Click on the user's name.
- Click on Permission Set License Assignment
- Click on Edit Assignment
- Search Salesforce API Integration
- Select the Checkbox
- Save
Step 5: Connect Salesforce

- Now you can connect Salesforce to Clazar using either the same user that you created or any other user with the necessary permissions.

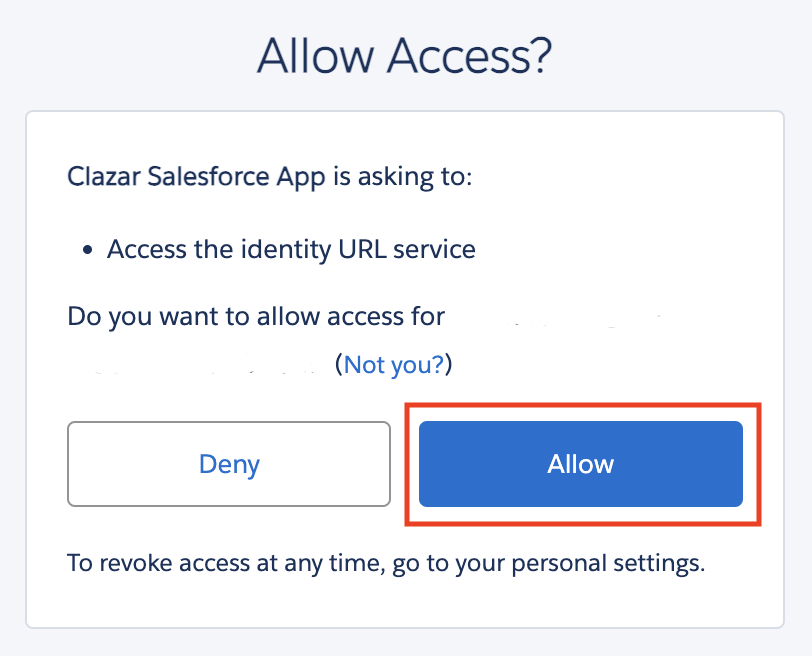
- Grant Clazar access by clicking Allow.
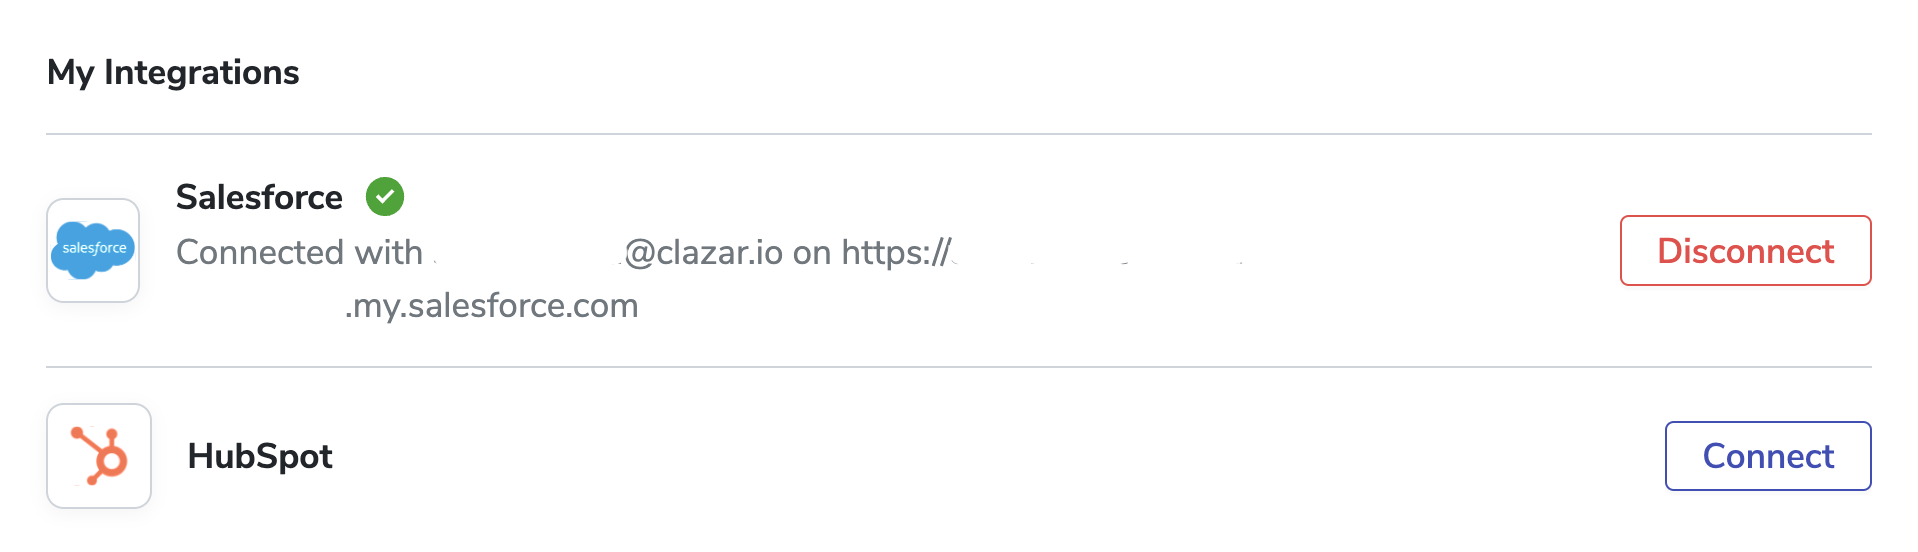
- Upon successful login, the Connect App button changes to Disconnect App and displays a Green Check Mark.

Good to Know!!After successfully connecting to Salesforce, Clazar can now access your Salesforce objects to perform field and object mapping.
Step 6: Add User Profiles to Clazar App
This Step is only required if Clazar App is not visible in Salesforce App Launcher
For detailed steps on assigning user profiles to the Clazar App, refer to Assign User Profiles to the Clazar Salesforce App
Disconnect Salesforce
To disconnect the Salesforce integration:

- Click the Disconnect App button. Confirm the disconnection when prompted.
- Click the Disconnect button to disconnect the app. Click No or X to cancel.
Be CarefulWhen you disconnect the app from Clazar, all app credentials are instantly deleted. To fully uninstall the app, you should also delete it from your Salesforce account.
Good to KnowAll mappings will be lost upon connecting to another Salesforce instance, resulting in permanent deletion of old records.
Do you know?Please note that only one account can be connected at a time. You can connect to either Salesforce Prod, Sandbox, or Developer account at a time.
Authenticate Salesforce User to Clazar User
- To use the Clazar widget to perform actions within Salesforce, users must first authenticate themselves through Salesforce authentication.
- This process grants them access to necessary features and verifies their permissions.
- Navigate: Settings > Profile
- Grant Clazar Salesforce App access by clicking Allow.
- Upon successful login, the Connect App button changes to Disconnect App and displays a Green Check Mark.
Updated 30 days ago